As promised, here are some of the better test shots from my new strobe set up. I present to you, strobing test #1 and strobing test #2. The first one was shot inside my house, in the proposed makeshift studio room. The second one was shot outside in the greenhouse, and around the area. I had to shift to a reflector-white board set up when the battery of my trigger ran out. It might get too expensive to buy disposable CR2 batteries all the time so I bought 4 rechargeable CR2 batteries and a charger from ebay. Hopefully, it gets here soon so I can experiment more.
IMPORTANT LESSON.. Never open the umbrella with flash and RF receiver when there's a strong consistent wind. I was getting the chair for a possible shot, then boom, down went the umbrella, my 285hv and my stand, aside from the damage minimal damage in the umbrella skeleton, my other gear were still A-Okay.
Anyway, critics are always welcome.
Here are the lessons that I learned, lighting-wise. I shall provide examples.
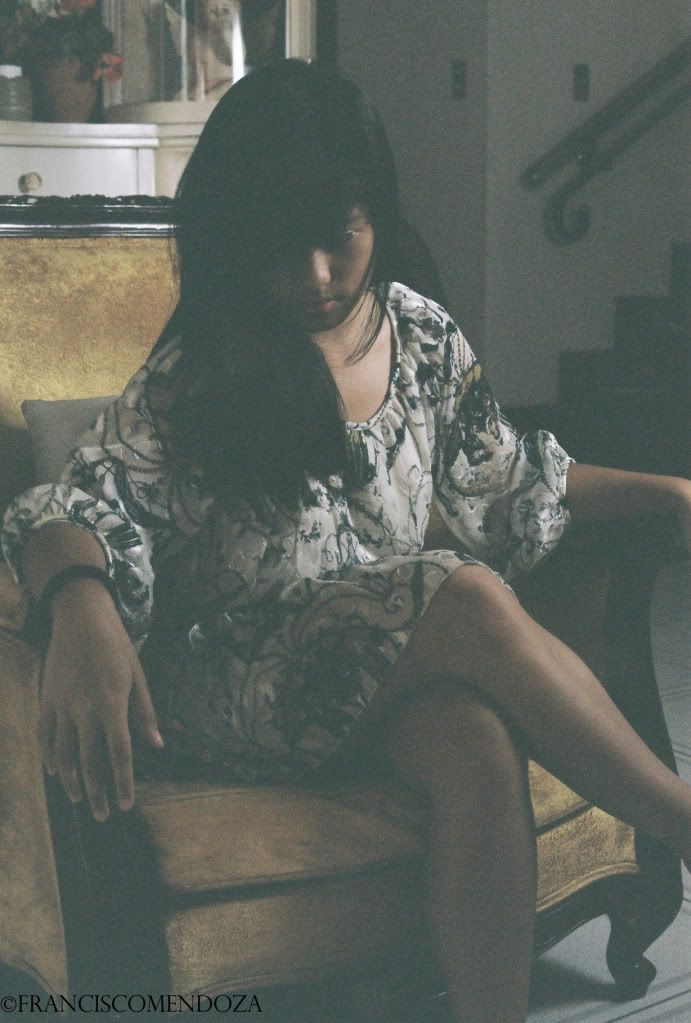
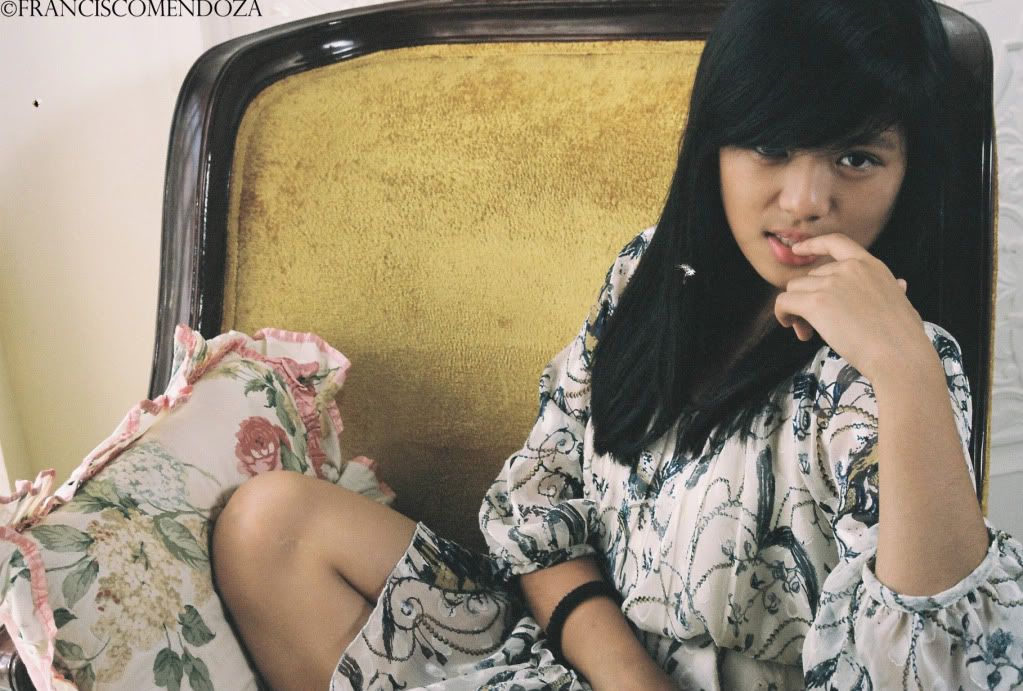
1. Despite being able to sync at almost all speeds, because of the RF wireless trigger and receiver, I should not abuse the shutter speed, especially when there is only one strobe on site. This will make the photo bright on one half and very dark on the other, much like a gradient.
Vivitar 285hv @ 1/16 or 1/4 power on the left, very high shutter speed (I was taking advantage of the high sync speed)
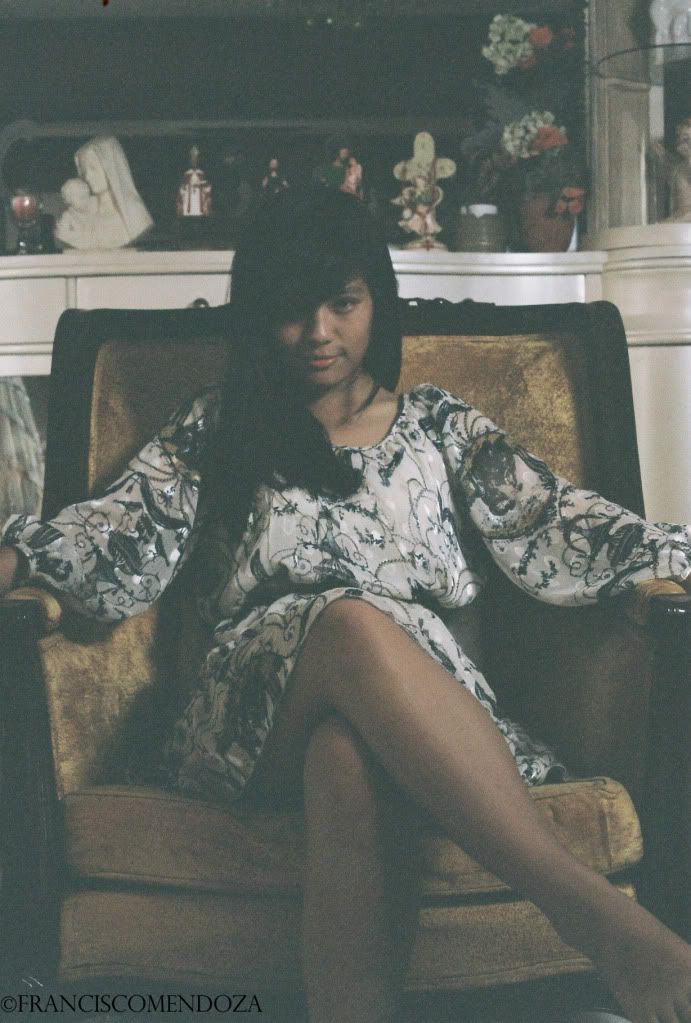
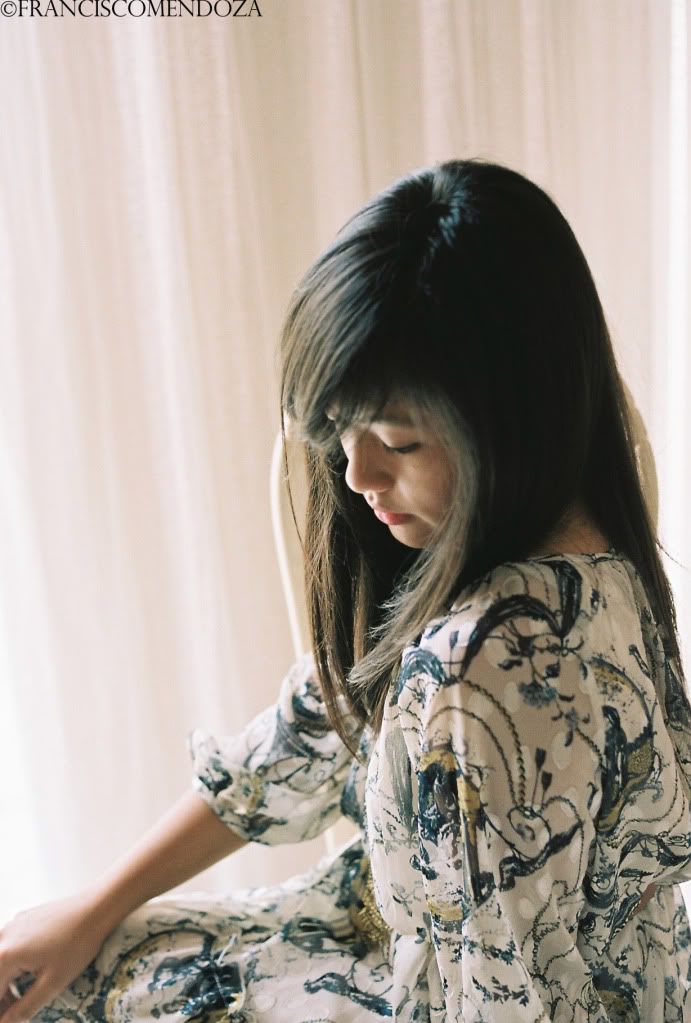
2. Don't always shoot at 1/16 power, even to conserve power. Sometimes, it is still too weak, especially when there's a diffuser or a shoot through umbrella, or a reflective umbrella. The model pose was really good, in my taste. It was just that my flash was either too far from her, or was emitting very low light.
Vivitar 285hv @ 1/16 or 1/4 power on the right, higher than 1/200 of a second shutter speed.
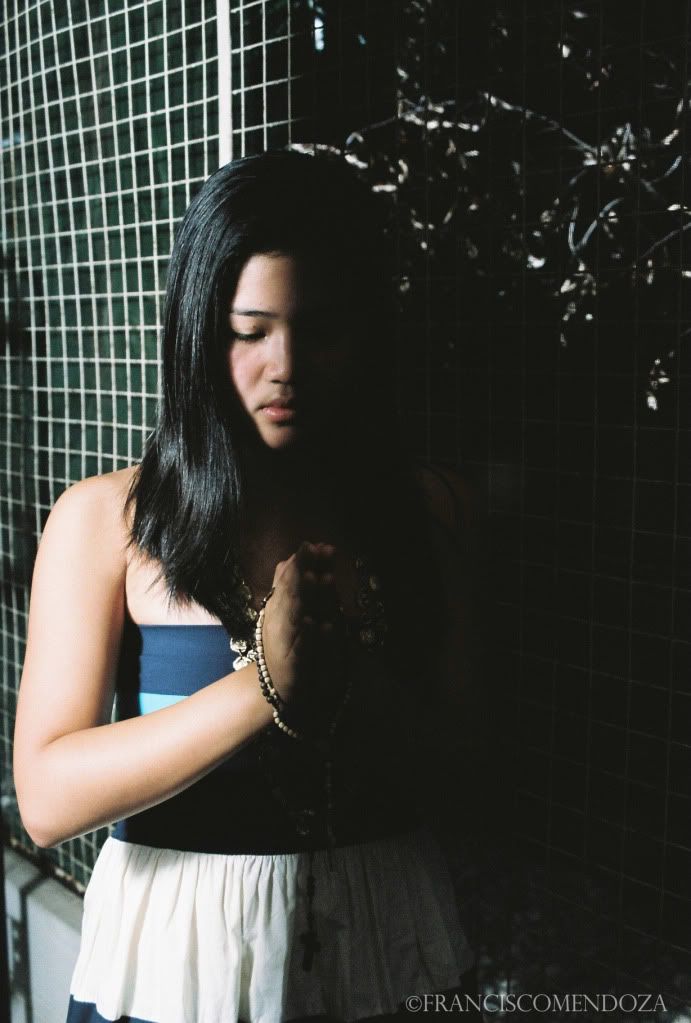
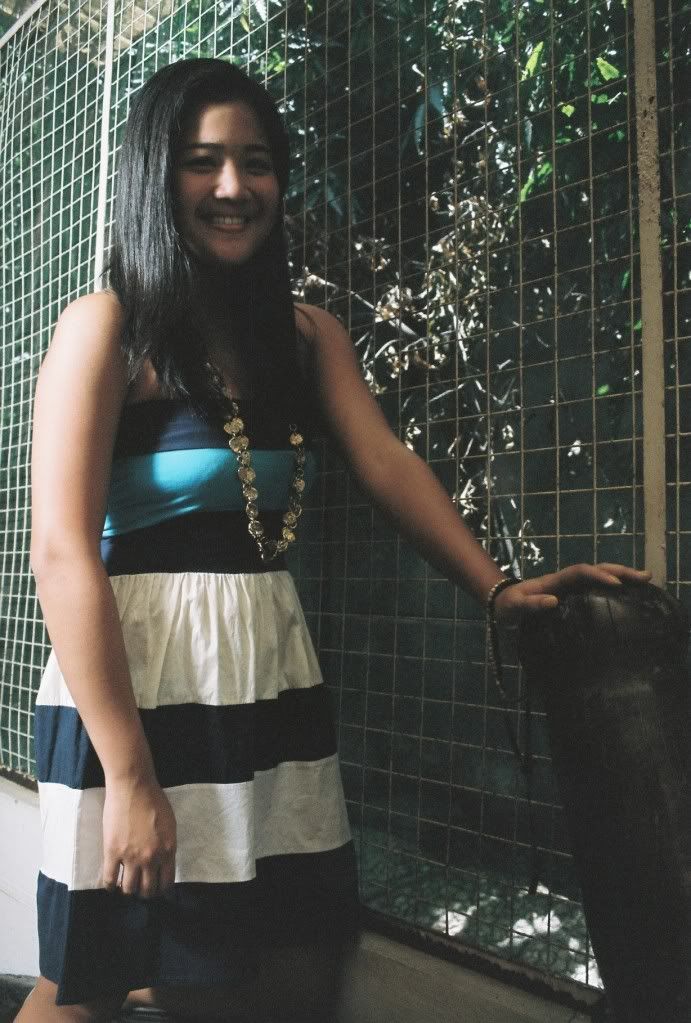
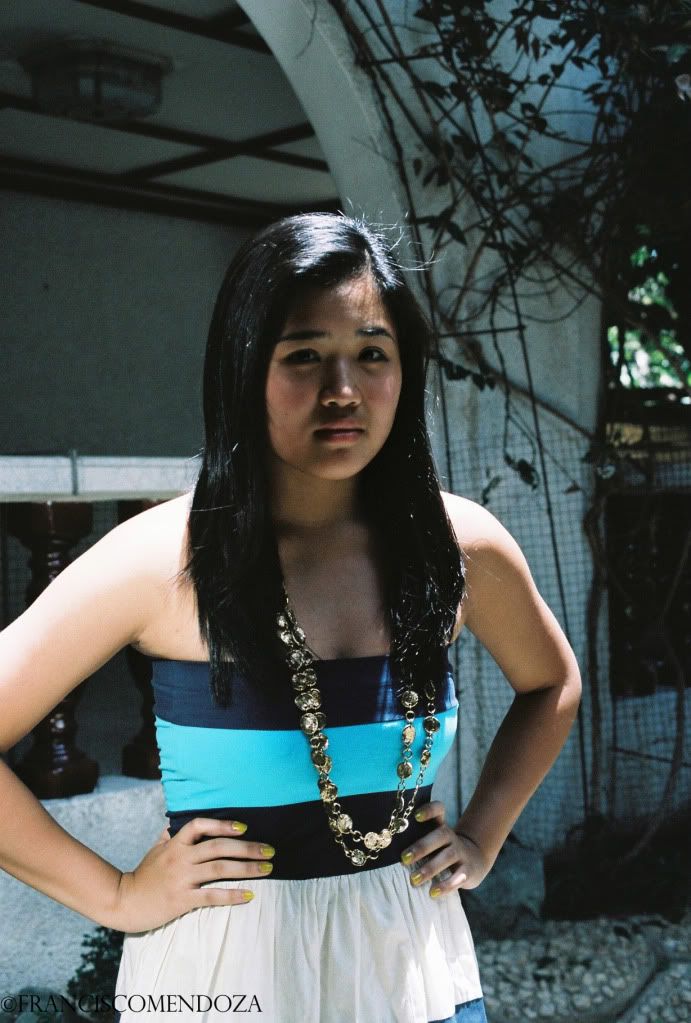
3. Reflectors are very useful when you run out of battery for the trigger. I was able to use a reflector and a white board for the remainder of the second shoot. Although even with this, the light redirected might be too harsh. It might cause your model to squint or close his/her eyes.
Reflector below-left
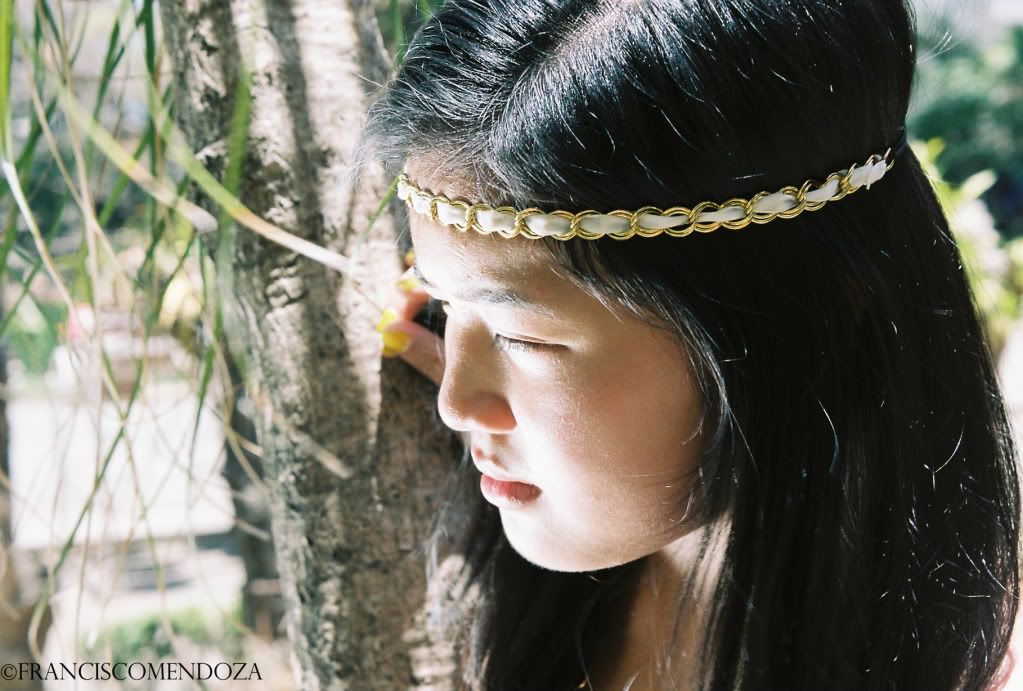
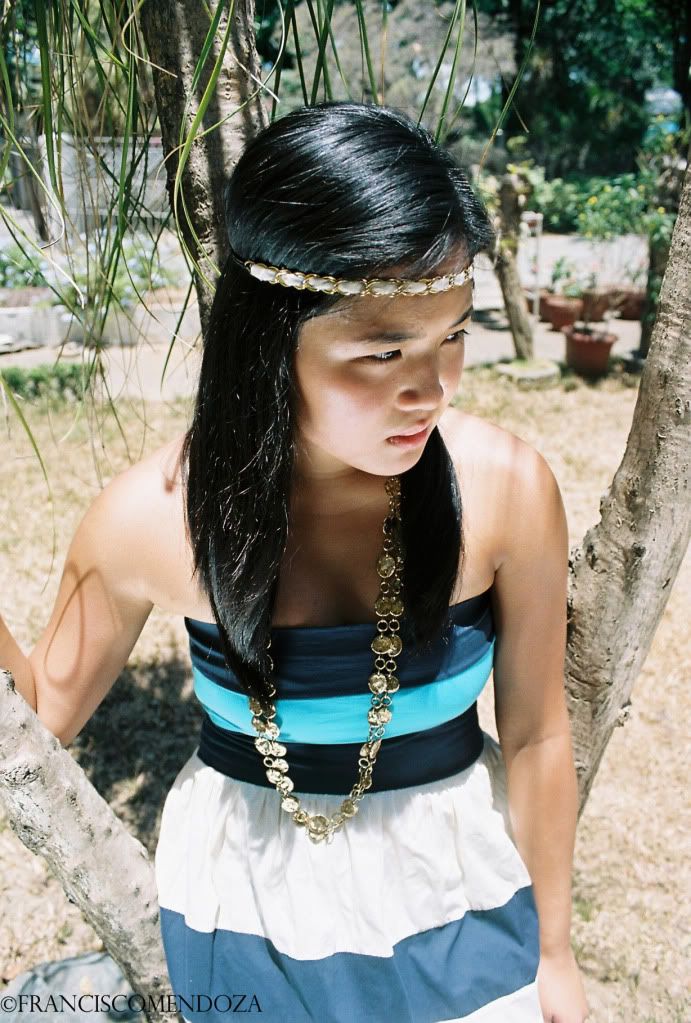
4. Just because something might look good as a stand alone subject, it might not necessarily be a good background. I thought the branches looked cool, and I imagined how they would look like if I shot them as a subject. For me, it became too busy, or too messy a background. lol.
Vivitar 285hv @ 1/16 or 1/4 power on the left, around 1/200 of a second shutter speed.
5. Write down the settings used for each shot. Evident in how unsure I am about the apertures and shutter speeds used.
Here are the better ones from the two shoots. Enjoy :)
First strobe test

Second strobe test
Details:
First photo - At around 12pm, Reflector lower left, white board lower right (I did not have an assistant to hold it).
Second Photo - Same setup as the first one.
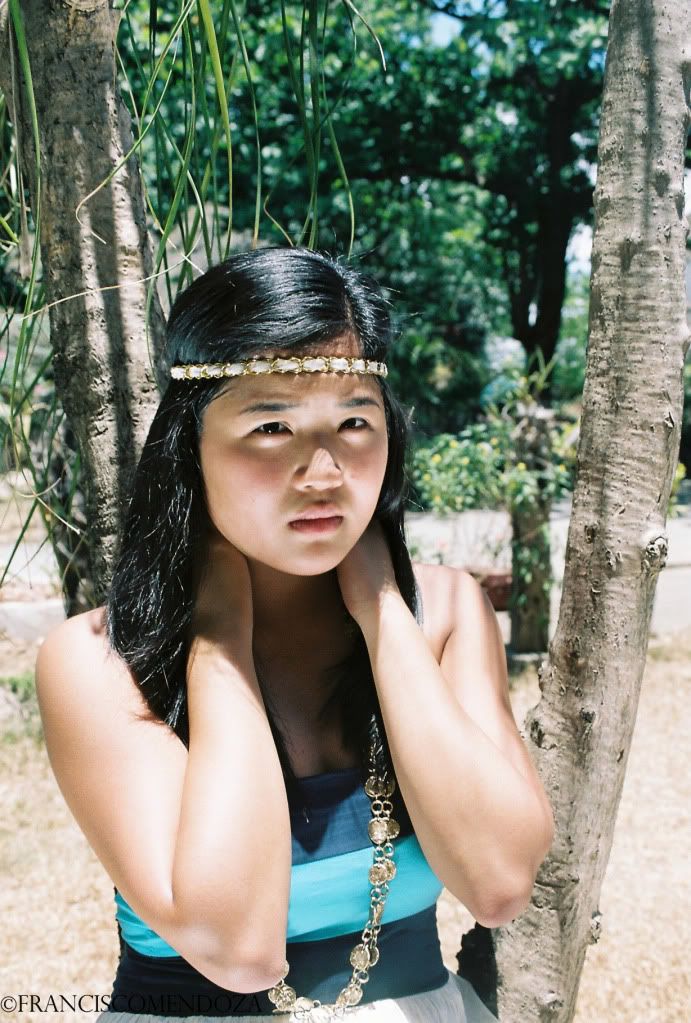
Third photo - Under the sun, Vivitar 285hv @ 1/16 or 1/4 power on the upper-right, around 1/200 shutter speed if I remember correctly.
I shot using 1.8,8,11 apertures.
Check out more of my photos in my flickr site - http://www.flickr.com/photos/franciscogmm/
For more photos of the first and second shoot - http://www.flickr.com/photos/franciscogmm/sets/72157623909750514/ and http://www.flickr.com/photos/franciscogmm/sets/72157623785271329/ respectively
IMPORTANT LESSON.. Never open the umbrella with flash and RF receiver when there's a strong consistent wind. I was getting the chair for a possible shot, then boom, down went the umbrella, my 285hv and my stand, aside from the damage minimal damage in the umbrella skeleton, my other gear were still A-Okay.
Anyway, critics are always welcome.
Here are the lessons that I learned, lighting-wise. I shall provide examples.
1. Despite being able to sync at almost all speeds, because of the RF wireless trigger and receiver, I should not abuse the shutter speed, especially when there is only one strobe on site. This will make the photo bright on one half and very dark on the other, much like a gradient.
Vivitar 285hv @ 1/16 or 1/4 power on the left, very high shutter speed (I was taking advantage of the high sync speed)
2. Don't always shoot at 1/16 power, even to conserve power. Sometimes, it is still too weak, especially when there's a diffuser or a shoot through umbrella, or a reflective umbrella. The model pose was really good, in my taste. It was just that my flash was either too far from her, or was emitting very low light.
Vivitar 285hv @ 1/16 or 1/4 power on the right, higher than 1/200 of a second shutter speed.
3. Reflectors are very useful when you run out of battery for the trigger. I was able to use a reflector and a white board for the remainder of the second shoot. Although even with this, the light redirected might be too harsh. It might cause your model to squint or close his/her eyes.
Reflector below-left
4. Just because something might look good as a stand alone subject, it might not necessarily be a good background. I thought the branches looked cool, and I imagined how they would look like if I shot them as a subject. For me, it became too busy, or too messy a background. lol.
Vivitar 285hv @ 1/16 or 1/4 power on the left, around 1/200 of a second shutter speed.
5. Write down the settings used for each shot. Evident in how unsure I am about the apertures and shutter speeds used.
Here are the better ones from the two shoots. Enjoy :)
First strobe test
Details:
First photo - At around 3pm, ambient light to the back left, Vivitar 285hv @ 1/16 or 1/4 power on the upper-left with reflective umbrella.
Second Photo - Same setup as the first one.
Third photo - Ambient light, kinda diffused to the left, Vivitar 285hv @ 1/16 or 1/4 power on the mid/upper-right with reflective umbrella.
I shot using 1.8,8,11 apertures.
Second strobe test
Details:
First photo - At around 12pm, Reflector lower left, white board lower right (I did not have an assistant to hold it).
Second Photo - Same setup as the first one.
Third photo - Under the sun, Vivitar 285hv @ 1/16 or 1/4 power on the upper-right, around 1/200 shutter speed if I remember correctly.
I shot using 1.8,8,11 apertures.
Check out more of my photos in my flickr site - http://www.flickr.com/photos/franciscogmm/
For more photos of the first and second shoot - http://www.flickr.com/photos/franciscogmm/sets/72157623909750514/ and http://www.flickr.com/photos/franciscogmm/sets/72157623785271329/ respectively

0 comments:
Post a Comment